Extruder Pasta Dough Recipe in 2024: Crafting Perfect Homemade Pasta
Pasta, with its myriad shapes and sizes, has been a staple in kitchens worldwide for centuries. While traditional methods of making pasta by hand or with a simple pasta roller are common, using a pasta extruder opens up a whole new world of possibilities. An extruder allows you to create complex shapes and textures that are difficult to achieve by hand, giving your homemade pasta that professional touch. In this article, we’ll dive into the art of making extruder pasta dough, covering everything from the basics of the ingredients to the final product.

Table of Contents
What is a Pasta Extruder?
A pasta extruder is a kitchen appliance that forces dough through a die to create various shapes like penne, fusilli, rigatoni, and more. Unlike the rolling method, which produces flat sheets of pasta like lasagna or fettuccine, an extruder shapes the dough into cylindrical or intricate designs. This tool is indispensable for anyone serious about making authentic, high-quality pasta at home.
The Importance of Dough Consistency
One of the key factors in making pasta with an extruder is achieving the right dough consistency. Unlike regular pasta dough, which can be slightly sticky or elastic, extruder dough needs to be dry and crumbly. This texture allows the dough to be fed into the machine easily and ensures that the pasta holds its shape once extruded.
Ingredients for Extruder Pasta Dough
The ingredients for extruder pasta dough are simple but must be measured and combined with precision to achieve the desired consistency. Here’s what you’ll need:
- Semolina Flour: 300g
- All-Purpose Flour: 200g
- Salt: 1 tsp
- Water: 150-200ml
- Olive Oil: 1 tbsp

Why Semolina Flour?
Semolina flour, made from durum wheat, is coarser than regular flour and gives the pasta its characteristic bite and texture. It is crucial for extruder pasta because its coarse nature helps the dough maintain its shape when forced through the extruder.
Step-by-Step Guide to Making Extruder Pasta Dough
1. Mixing the Flours
- Combine the semolina and all-purpose flours in a large bowl. The mixture of these two flours provides a balance between the firm texture of semolina and the smoother consistency of all-purpose flour.
2. Adding Salt
- Add the salt to the flour mixture and stir well. Salt not only adds flavor but also strengthens the gluten network in the dough, contributing to the pasta’s texture.
3. Incorporating Water
- Gradually add the water to the flour mixture, a little at a time. Start with 150ml and slowly work your way up to 200ml if needed. The goal is to achieve a crumbly dough that just holds together when pressed between your fingers.
4. Adding Olive Oil
- Drizzle the olive oil into the mixture and knead until combined. The olive oil helps to enrich the dough and gives the pasta a slightly smoother finish once cooked.
5. Kneading the Dough
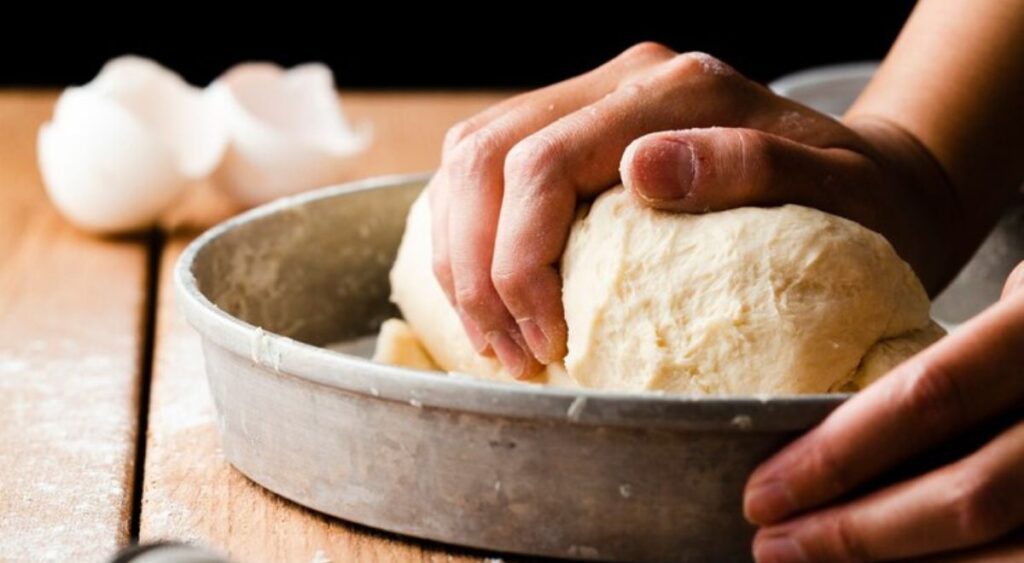
- Once the ingredients are combined, knead the dough on a clean surface for about 5-7 minutes. The dough should be dry and slightly crumbly but should hold together when pressed. Avoid adding too much water; the dough should not be sticky.

6. Resting the Dough
- After kneading, wrap the dough in plastic wrap and let it rest at room temperature for 30 minutes. This resting period allows the flour to fully hydrate and the gluten to relax, making it easier to extrude.
Using the Pasta Extruder
Once your dough is ready, it’s time to use the pasta extruder. Here’s how:
1. Prepare the Extruder
- Attach the desired pasta die to your extruder. Make sure the machine is clean and assembled correctly.
2. Feed the Dough
- Break the dough into small pieces and feed them into the extruder. Turn the machine on and start extruding the pasta. The dough should come out smoothly in the shape of the die you’ve chosen.
3. Cutting the Pasta
- As the pasta is extruded, use a knife or the built-in cutter (if your machine has one) to cut the pasta to your desired length.
4. Drying the Pasta
- Lay the freshly extruded pasta on a floured surface or a drying rack. Allow it to dry slightly before cooking, which helps the pasta hold its shape better during cooking.
Cooking Extruder Pasta
Cooking extruder pasta is similar to cooking any other type of pasta, but there are a few nuances to keep in mind:
- Use Plenty of Water: Boil the pasta in a large pot of salted water. Fresh pasta cooks faster than dried pasta, so keep an eye on it.
- Check for Doneness: Start checking the pasta after 2-3 minutes of cooking. The pasta should be al dente, meaning it should be firm to the bite but cooked through.
- Sauce Considerations: Extruder pasta tends to have a rougher surface, which makes it perfect for holding onto sauces. Pair it with hearty sauces like Bolognese, pesto, or a rich marinara.
Troubleshooting Common Issues
Even with the best preparation, you might encounter some issues when making extruder pasta dough. Here are some common problems and how to fix them:
- Dough is Too Sticky: If your dough is sticky, it likely has too much water. Add more semolina flour to balance the consistency.
- Pasta is Crumbly After Extruding: This usually happens if the dough is too dry. Add a small amount of water and knead the dough again before extruding.
- Pasta is Sticking Together: If the extruded pasta sticks together, it may not have dried enough before cooking. Make sure to dust the pasta with flour and let it air dry for a few minutes before boiling.
Nutrient Table of Extruder Pasta Dough Recipe in 2024
Below is a nutrient table that provides an overview of the nutritional content of a standard serving (100g) of homemade extruder pasta:
| Nutrient | Amount per 100g | % Daily Value |
|---|---|---|
| Calories | 350 kcal | 17% |
| Carbohydrates | 72g | 24% |
| Protein | 10g | 20% |
| Total Fat | 1g | 2% |
| Saturated Fat | 0.2g | 1% |
| Fiber | 3g | 12% |
| Sodium | 50mg | 2% |
| Calcium | 15mg | 1% |
| Iron | 2mg | 11% |
| Potassium | 120mg | 3% |
FAQs

What is an Extruder Pasta?
Extruder pasta is a type of pasta made using a pasta extruder, a kitchen device that shapes dough into various pasta forms like penne, fusilli, and rigatoni by pushing it through a specially designed die. This method allows for the creation of intricate pasta shapes that are difficult to achieve by hand.
Do You Need to Dry Extruded Pasta?
Yes, it’s recommended to dry extruded pasta slightly before cooking. Drying helps the pasta hold its shape better during cooking and prevents it from sticking together. Freshly extruded pasta only needs a few minutes of air drying before being boiled.
Conclusion
Making pasta with an extruder is a rewarding experience that brings a unique touch to your homemade dishes. By following the steps outlined in this guide, you can create perfectly textured pasta that not only tastes amazing but also holds its shape beautifully. Whether you’re making traditional shapes like penne or experimenting with new designs, the key lies in mastering the dough. With practice, you’ll be able to craft pasta that rivals the quality of any Italian restaurant, right in your kitchen.
Experiment with different flours, water ratios, and even adding flavorings like herbs or spices to your dough. The possibilities are endless, and the results are sure to impress. So dust off that pasta extruder, roll up your sleeves, and start creating pasta masterpieces today!
Pingback: How to make Nigerian Donut Recipe in 2024 - Top 3 Secrets
Pingback: How to Make Aloo Paratha Quesadilla Recipe - top 6 Secrets