Introduction of Milk bottle Cookies Recipe in 2024:
Welcome to a delightful journey into the world of homemade treats with our Milk Bottle Cookies Recipe in 2024. In this article, we’ll guide you through crafting these charming cookies, reminiscent of a bygone era. Get ready to impress your guests and indulge in the simple joy of baking. Let’s dive in!
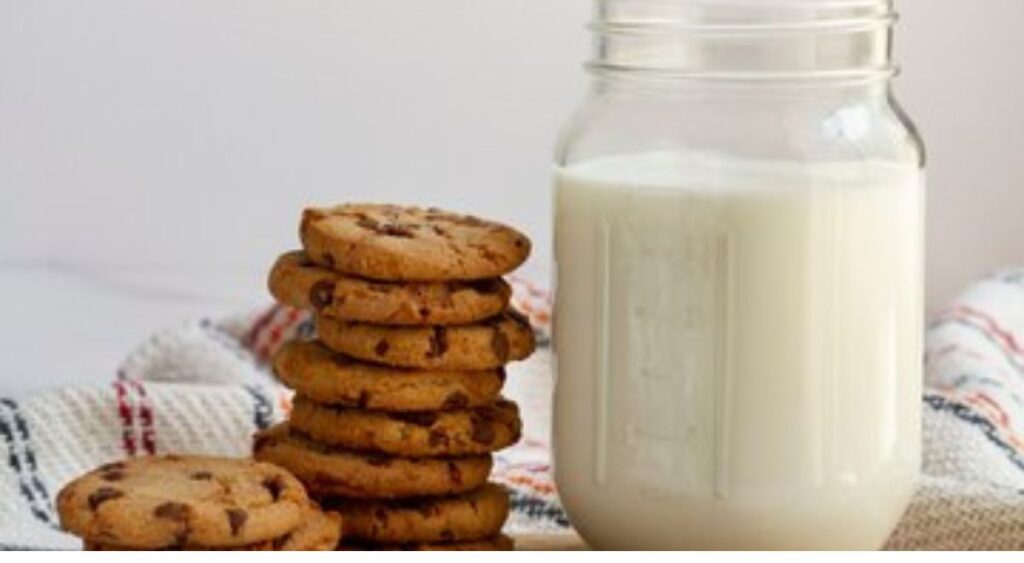
Table of Contents
Ingredients of Milk bottle Cookies Recipe in 2024:
For the Chocolate Chip Cookies:
- 2 1/4 cups all-purpose flour
- 1 teaspoon baking soda
- 1 teaspoon salt
- 1 cup unsalted butter, softened
- 3/4 cup granulated sugar
- 3/4 cup packed brown sugar
- 1 teaspoon vanilla extract
- 2 large eggs
- 2 cups semisweet chocolate chips
For the Milk Bottles:
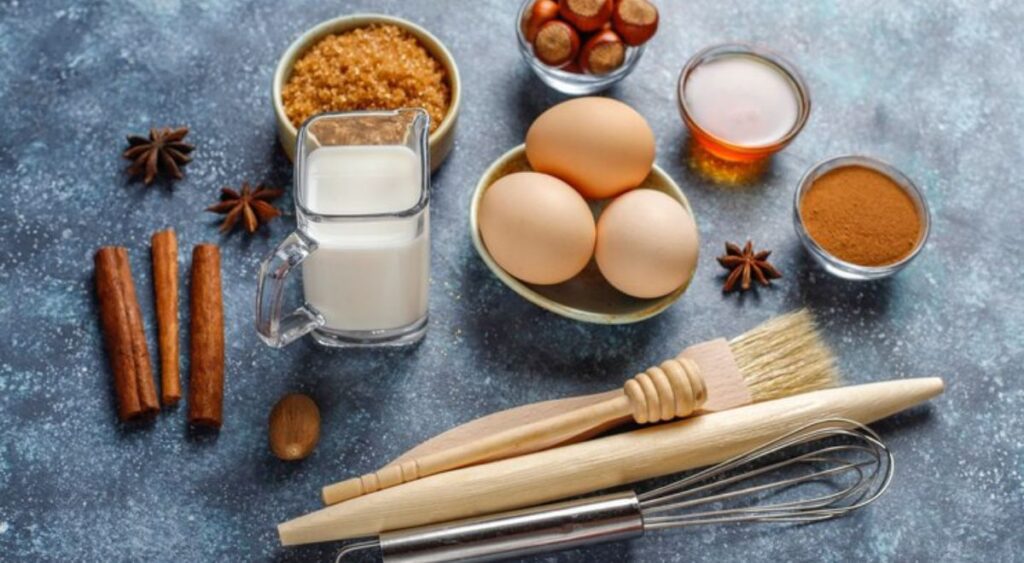
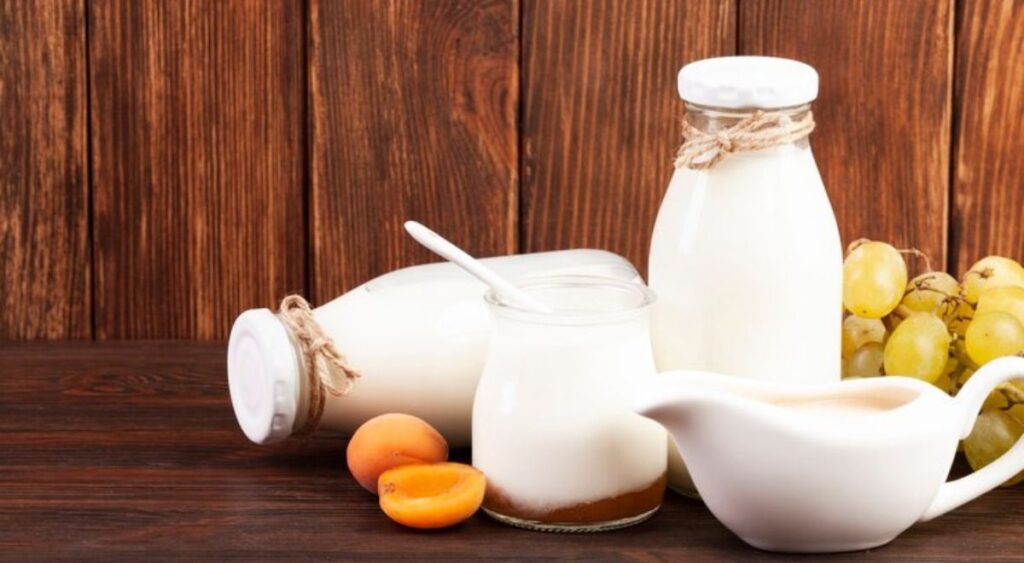
- 12 clean and dry glass milk bottles
- Your choice of milk (whole, 2%, or non-dairy alternative)
- Colorful paper straws (optional for decoration)
Preparation:
- Preheat your oven to 375°F (190°C) and line baking sheets with parchment paper.
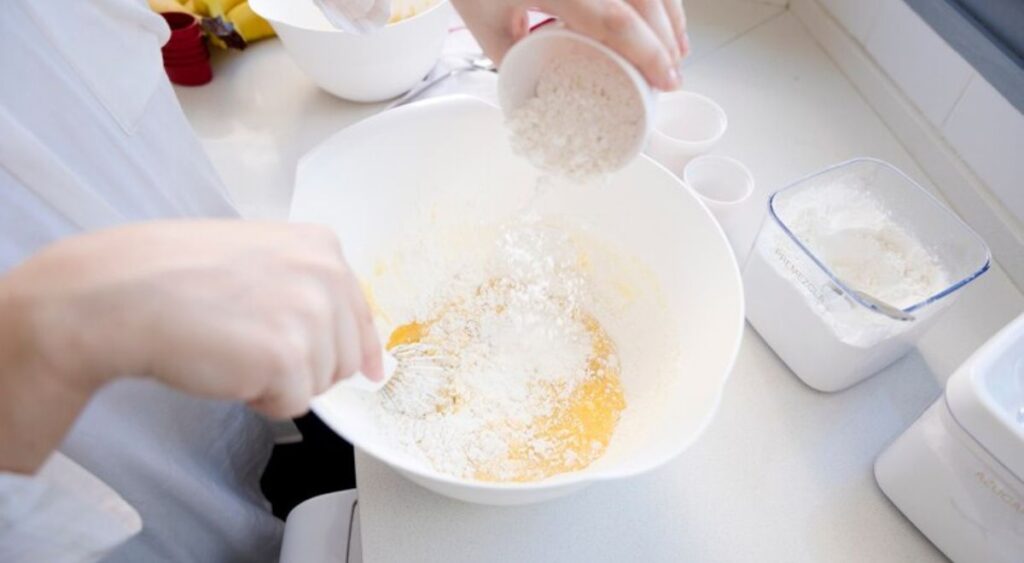
- In a medium bowl, whisk together the flour, baking soda, and salt. Set aside.
- In a large mixing bowl, beat the softened butter, granulated sugar, brown sugar, and vanilla extract until creamy and smooth.
- Add the eggs one at a time, beating well after each addition.
- Gradually add the flour mixture to the wet ingredients, mixing until well combined.
- Stir in the chocolate chips until evenly distributed throughout the dough.
- Using a spoon or cookie scoop, drop rounded tablespoons of dough onto the prepared baking sheets, spacing them about 2 inches apart.
- Bake in the preheated oven for 9 to 11 minutes, or until the cookies are golden brown around the edges.
- Remove from the oven and allow the cookies to cool on the baking sheets for a few minutes before transferring them to wire racks to cool completely.
- While the cookies are cooling, prepare the milk bottles by filling each one with your preferred type of milk.
- Optionally, add colorful paper straws to the milk bottles for a fun and festive touch.
- Once the cookies are completely cooled and the milk bottles are ready, assemble them together on a serving platter or tray for a delightful presentation.
Now that you have all the ingredients prepared and the cookies baked, it’s time to enjoy the nostalgic charm of Milk Bottle Cookies!
Baking:
Preheat the Oven:
Before you start baking your cookies, preheat your oven to 375°F (190°C) to ensure it reaches the correct temperature by the time you’re ready to bake.
Prepare Baking Sheets:
Line your baking sheets with parchment paper to prevent the cookies from sticking and make cleanup easier.
Scoop Cookie Dough:
Use a spoon or cookie scoop to portion out the cookie dough onto the prepared baking sheets. Leave enough space between each cookie to allow for spreading while baking, usually about 2 inches apart.
Flatten Cookies (Optional): If you prefer flatter cookies, gently flatten each dough ball with the palm of your hand or the back of a spoon before baking.
Bake Cookies:
Place the baking sheets in the preheated oven and bake the cookies for 9 to 11 minutes, or until they are golden brown around the edges. Keep an eye on them towards the end of the baking time to avoid overcooking.
Rotate Baking Sheets:
If you’re baking multiple trays of cookies at once, halfway through the baking time, rotate the baking sheets in the oven to ensure even baking.
Cool Cookies:
Once the cookies are done baking, remove the baking sheets from the oven and allow the cookies to cool on the sheets for a few minutes. This helps them set and firm up before transferring them to a wire rack to cool completely.
Repeat:
If you have more cookie dough remaining, continue scooping and baking batches of cookies until all the dough is used.
Assemble Milk Bottles:
While the cookies are cooling, fill the glass milk bottles with your chosen type of milk. Optionally, add colorful paper straws for a decorative touch.
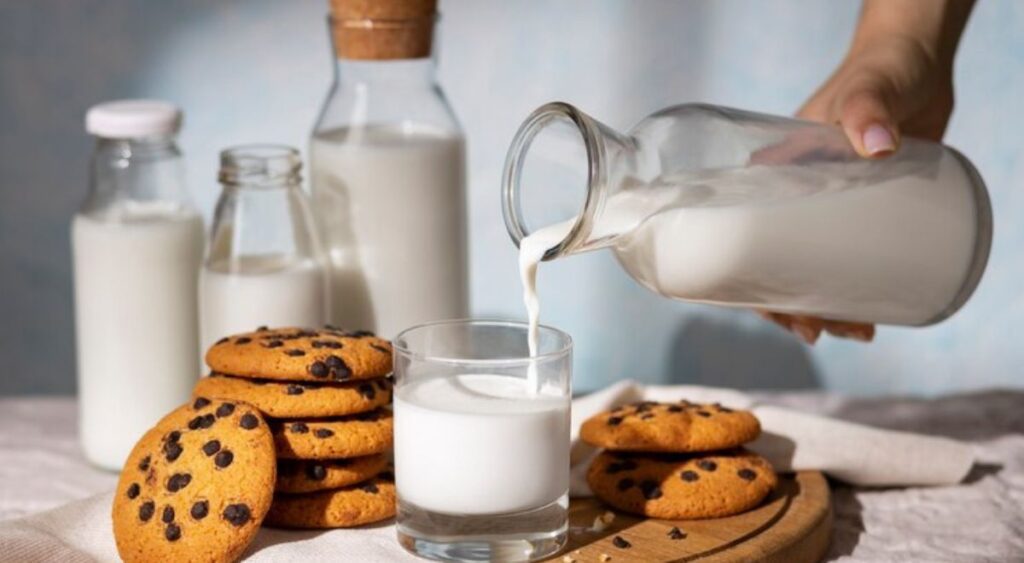
Serve and Enjoy:
Once the cookies are completely cooled and the milk bottles are ready, arrange them together on a serving platter or tray. Invite your family and friends to indulge in the nostalgic delight of Milk Bottle Cookies paired with refreshing milk.
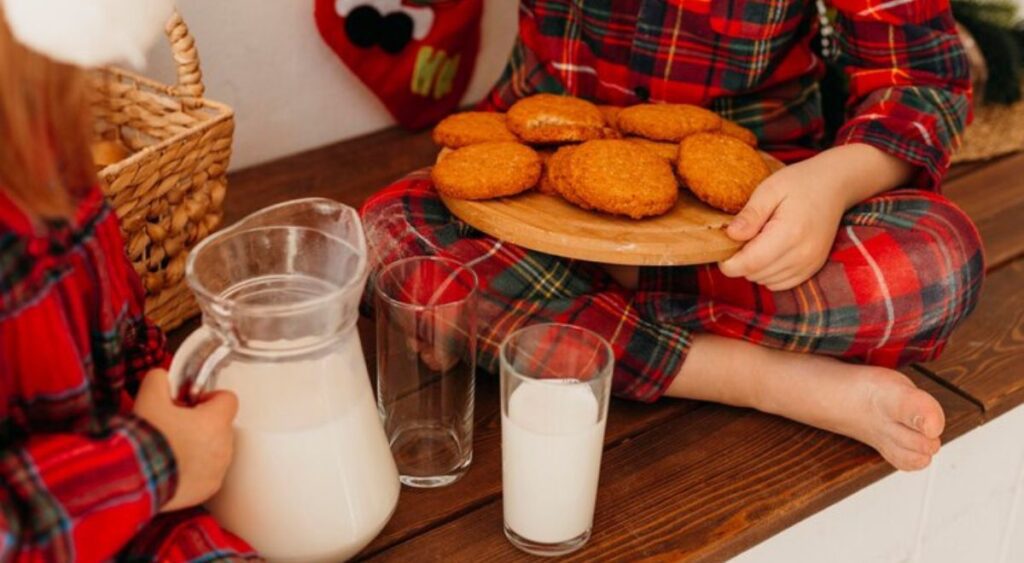
With the cookies baked to perfection and the milk bottles filled, you’re now ready to enjoy a delightful treat that combines the comforting flavors of homemade cookies with the charm of vintage milk bottles.
Presentation:
Arranging Cookies and Milk Bottles:
Place the freshly baked cookies and filled milk bottles on a serving platter or tray. Consider arranging them in an aesthetically pleasing manner, such as grouping the cookies together on one side of the platter and lining up the milk bottles on the other side.
Decorative Accents:
Enhance the presentation by adding decorative accents to the serving platter. You can sprinkle some powdered sugar over the cookies for a touch of elegance, or garnish the platter with fresh berries or mint leaves for a pop of color.
Vintage Charm:
Embrace the nostalgic appeal of milk bottle cookies by incorporating vintage-inspired elements into your presentation. Use retro-style serving ware, such as floral-patterned plates or rustic wooden trays, to evoke a sense of nostalgia.
Personalized Touches:
Add a personal touch to the presentation by incorporating custom labels or tags for the milk bottles. You can create charming labels with handwritten notes or decorative stickers that complement the theme of your event or gathering.
Serving Utensils:
Provide small serving utensils, such as tongs or spatulas, for guests to easily pick up the cookies from the platter. Alternatively, you can place individual napkins or small plates next to the cookies for guests to use while enjoying their treats.
Beverage Accompaniments:
Consider offering additional beverage options to accompany the milk bottle cookies, such as freshly brewed coffee, hot chocolate, or flavored milk. Display these beverages in coordinating pitchers or carafes to create a cohesive presentation.
Displaying the Setup:
Showcase your beautifully arranged cookies and milk bottles in a central location where guests can easily access them. Whether it’s on a dessert table at a party or as a special treat for a family gathering, make sure the presentation is inviting and eye-catching.
By paying attention to the presentation details, you’ll elevate the overall experience of enjoying milk bottle cookies, creating a memorable moment for yourself and your guests. So, take the time to arrange and decorate your serving platter with care, and watch as it becomes the centerpiece of your event.
Variations:
Flavor Variations:
Experiment with different flavors to create unique variations of the classic chocolate chip cookies. Consider adding ingredients such as chopped nuts, shredded coconut, dried fruit, or toffee bits to the cookie dough for added texture and flavor.
Cookie Shapes:
Get creative with the shapes of your cookies by using cookie cutters or molds to form them into fun and festive designs. For example, you can make heart-shaped cookies for Valentine’s Day, or star-shaped cookies for a patriotic celebration.
Decorative Toppings:
Add decorative toppings to your cookies before baking to enhance their appearance and flavor. Sprinkle coarse sugar or colored sprinkles on top of the cookie dough for a touch of sweetness and sparkle.
Cookie Sandwiches:
Turn your milk bottle cookies into delicious sandwich cookies by sandwiching a layer of frosting or jam between two cookies. Experiment with different filling flavors, such as vanilla buttercream, chocolate ganache, or raspberry preserves, to create a variety of tasty combinations.
Miniature Cookies:
Make miniature versions of your milk bottle cookies by using a smaller cookie scoop or shaping the dough into smaller balls before baking. These bite-sized treats are perfect for serving at parties or as a sweet snack on the go.
Gluten-Free or Vegan Options:
Adapt the recipe to accommodate dietary restrictions by using gluten-free flour or vegan substitutes for ingredients like butter and eggs. This allows everyone to enjoy the deliciousness of milk bottle cookies, regardless of their dietary preferences.
Customized Decorations:
Personalize your milk bottle cookies by decorating them with custom designs or messages using icing, edible markers, or decorative candies. Get creative and let your imagination run wild as you decorate each cookie with intricate patterns, monograms, or themed motifs.
Seasonal Themes:
Tailor your milk bottle cookies to fit the theme of different seasons or holidays throughout the year. For example, you can decorate them with festive colors and shapes for Christmas, or incorporate seasonal flavors like pumpkin spice or cinnamon for fall.
By exploring these variations, you can add a delightful twist to your milk bottle cookies recipe and unleash your creativity in the kitchen. Whether you’re experimenting with new flavors, shapes, or decorations, there’s endless potential for creating delicious and visually appealing treats that are sure to impress your family and friends.
Serving Suggestions:
Party Platter:
Arrange the milk bottle cookies on a decorative platter or tray to create an inviting display for parties or gatherings. Place the cookies alongside the milk bottles for a charming and nostalgic presentation that will delight guests of all ages.
Dessert Buffet:
Incorporate the milk bottle cookies into a dessert buffet spread for a sweet ending to any event. Pair them with an assortment of other desserts, such as cupcakes, brownies, and fruit tarts, to offer guests a variety of indulgent treats to choose from.
Afternoon Tea:
Serve the milk bottle cookies alongside a selection of teas and coffee for a cozy afternoon tea gathering. Arrange them on tiered serving trays or decorative plates for an elegant touch that complements the classic charm of the cookies.
Picnic Basket:
Pack the milk bottle cookies and milk bottles into a picnic basket for a delightful outdoor treat. Whether you’re enjoying a picnic in the park, at the beach, or in your backyard, these portable snacks are perfect for satisfying your sweet tooth on the go.
School Lunches:
Add the milk bottle cookies to your child’s lunchbox for a special homemade treat that will brighten their day. Pack them alongside a carton of milk or a juice box for a wholesome and satisfying snack that’s sure to be a hit with kids of all ages.
Gift Giving:
Package the milk bottle cookies in decorative boxes or bags to give as thoughtful homemade gifts for birthdays, holidays, or special occasions. Tie a ribbon around the package and attach a handwritten note to add a personal touch that shows how much you care.
Cookie Exchange:
Participate in a cookie exchange with friends, family, or coworkers by baking a batch of milk bottle cookies to share. Wrap individual cookies in colorful tissue paper or cellophane bags for a festive presentation that makes them perfect for gifting or trading.
Midnight Snack:
Enjoy the milk bottle cookies as a late-night treat for a cozy night in. Whether you’re watching a movie, reading a book, or simply relaxing at home, these comforting cookies and a glass of cold milk are the perfect way to satisfy your cravings before bedtime.
However you choose to serve and enjoy them, milk bottle cookies are sure to bring a smile to your face and a sense of joy to any occasion. So gather your loved ones, pour a glass of milk, and indulge in the simple pleasure of homemade cookies made with love.
Nutrient Table for Milk Bottle Cookies Recipe(per serving):
| Nutrient | Quantity per Serving |
|---|---|
| Calories | 150-200 kcal |
| Total Fat | 8-10 g |
| Saturated Fat | 4-6 g |
| Trans Fat | 0 g |
| Cholesterol | 15-25 mg |
| Sodium | 100-150 mg |
| Total Carbohydrates | 18-25 g |
| Dietary Fiber | 1-2 g |
| Sugars | 10-15 g |
| Protein | 2-3 g |
These values can vary based on factors such as ingredient substitutions, portion sizes, and specific recipe variations. For a more precise nutrient analysis, you may consider using a recipe calculator or consulting a registered dietitian.
FAQs of Milk bottle Cookies Recipe in 2024:
Can I use salted butter instead of unsalted butter for the cookies?
Yes, you can use salted butter, but be mindful of the salt content in the recipe and consider reducing the amount of additional salt accordingly to avoid over-salting the cookies.
Can I substitute brown sugar with white sugar or vice versa?
Yes, you can substitute brown sugar with white sugar or vice versa, but keep in mind that brown sugar adds moisture and a slightly caramelized flavor to the cookies, while white sugar contributes to a crisper texture. Adjustments in texture and flavor may occur based on the substitution.
Can I freeze the cookie dough for later use?
Yes, you can freeze the cookie dough for later use. Simply shape the dough into balls, place them on a baking sheet lined with parchment paper, and freeze until firm. Once frozen, transfer the dough balls to a freezer-safe bag or container and store in the freezer for up to three months. When ready to bake, allow the dough balls to thaw slightly before baking as directed.
How long will the baked cookies stay fresh?
The baked cookies will stay fresh for several days when stored in an airtight container at room temperature. For longer storage, you can freeze the baked cookies in a freezer-safe container for up to three months. Thaw at room temperature before serving.
Can I use different types of chocolate chips in the cookies?
Yes, you can use different types of chocolate chips, such as milk chocolate, dark chocolate, or white chocolate chips, according to your preference. You can also mix and match different types of chips for a custom flavor combination.
Can I use whole wheat flour instead of all-purpose flour?
Yes, you can use whole wheat flour instead of all-purpose flour for a healthier twist. Keep in mind that whole wheat flour may yield denser and slightly nuttier cookies compared to those made with all-purpose flour.
How can I prevent my cookies from spreading too much during baking?
To prevent excessive spreading, make sure your butter is properly softened but not melted, and chill the cookie dough in the refrigerator for about 30 minutes before baking. Additionally, avoid overcrowding the cookies on the baking sheet and ensure your oven is preheated to the correct temperature.
Can I add nuts or dried fruit to the cookie dough?
Yes, you can add chopped nuts, such as walnuts, pecans, or almonds, as well as dried fruit, such as raisins, cranberries, or chopped apricots, to the cookie dough for added flavor and texture. Fold them into the dough along with the chocolate chips before baking.
Can I make the cookies smaller or larger than the suggested size?
Yes, you can adjust the size of the cookies according to your preference. Keep in mind that smaller cookies will require less baking time, while larger cookies will require more baking time. Adjust the baking time accordingly to ensure the cookies are baked to your desired level of doneness.
Can I decorate the cookies with icing or frosting?
Yes, you can decorate the cookies with icing or frosting for a decorative touch. Allow the cookies to cool completely before icing, and use your favorite icing recipe or store-bought frosting to decorate the cookies as desired. Allow the icing to set before serving or storing the cookies.
These FAQs should address common inquiries about your milk bottle cookies recipe and provide helpful guidance to readers.
Conclusion:
In conclusion, the Milk Bottle Cookies Recipe offers a delightful blend of nostalgia, flavor, and creativity. With simple ingredients and easy-to-follow instructions, you can create a batch of charming cookies that are perfect for any occasion. Whether you’re hosting a party, enjoying a quiet afternoon tea, or simply craving a sweet treat, these cookies paired with refreshing milk are sure to bring joy to your taste buds and memories of days gone by. So, gather your ingredients, preheat your oven, and embark on a baking adventure that celebrates the simple pleasures of homemade goodness. Happy baking!
Pingback: La Victoria Orange Sauce Recipe in 2024- Top 10 secrets
Pingback: Almond Milk Ninja Creami Recipe in 2024 - Top 5 Secrets
Pingback: Big Haley Apple Brandy Recipe in 2024- top 10 secrets
Pingback: Loaded Tea Recipes-Top 5 Recipes Secrets
Pingback: Detox Island Green Smoothie Recipe in 2024 - Top 5 Secrets