1. Introduction of Sue Becker Bread Recipe in 2024
Sue Becker’s bread recipe is a game-changer for home bakers. Known for her emphasis on using freshly milled flour, Sue’s approach ensures every loaf is packed with nutrition and flavor. This guide will walk you through her basic dough recipe, tips for perfect whole wheat bread, and a few delightful variations. Ready to elevate your bread-making skills? Let’s dive in!
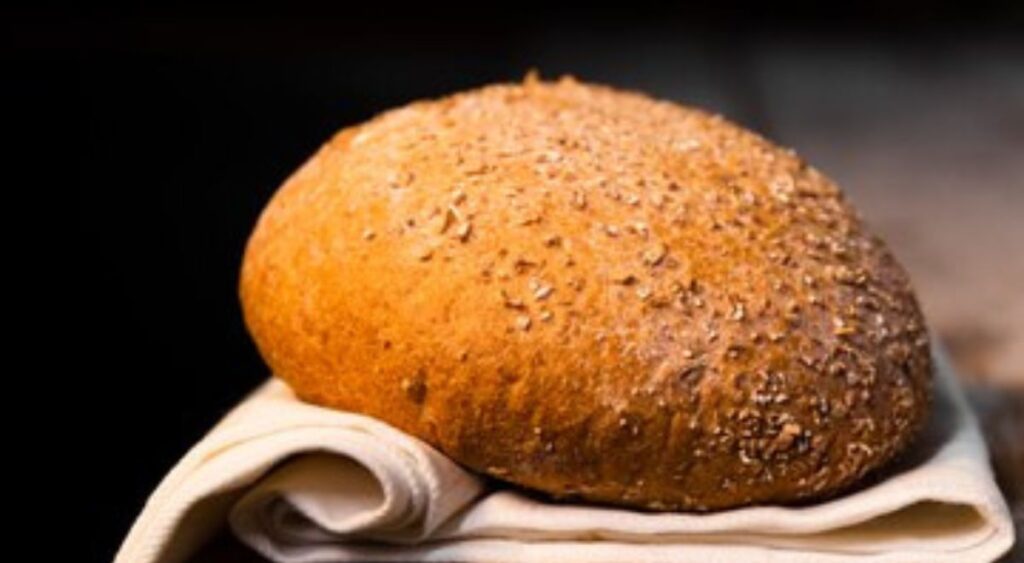
Table of Contents
2. Basic Dough Recipe
Ingredients
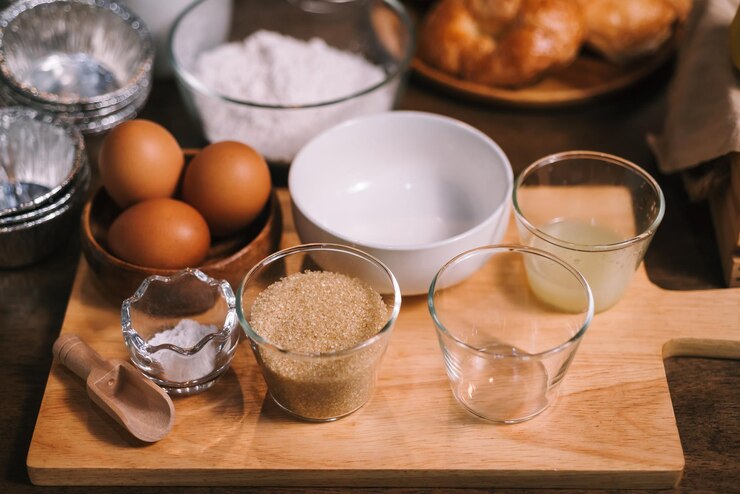
To make Sue Becker’s basic dough, you will need:
- 6 cups freshly milled whole wheat flour
- 2 ½ cups warm water (105-115°F)
- 1 ½ tablespoons active dry yeast
- ¼ cup honey or maple syrup
- ¼ cup olive oil or melted butter
- 1 tablespoon salt
Instructions
Prepare the Yeast Mixture:
- In a large mixing bowl, combine the warm water, honey or maple syrup, and yeast.
- Stir gently and let the mixture sit for about 5-10 minutes until it becomes frothy and bubbly. This indicates the yeast is active.
Combine Ingredients:
- Add the olive oil or melted butter to the yeast mixture.
- Gradually add 3 cups of the freshly milled flour to the bowl, stirring continuously to form a smooth batter.
Knead the Dough:
- Add the salt and the remaining 3 cups of flour, one cup at a time, mixing well after each addition.
- Once the dough starts to come together, transfer it to a lightly floured surface.
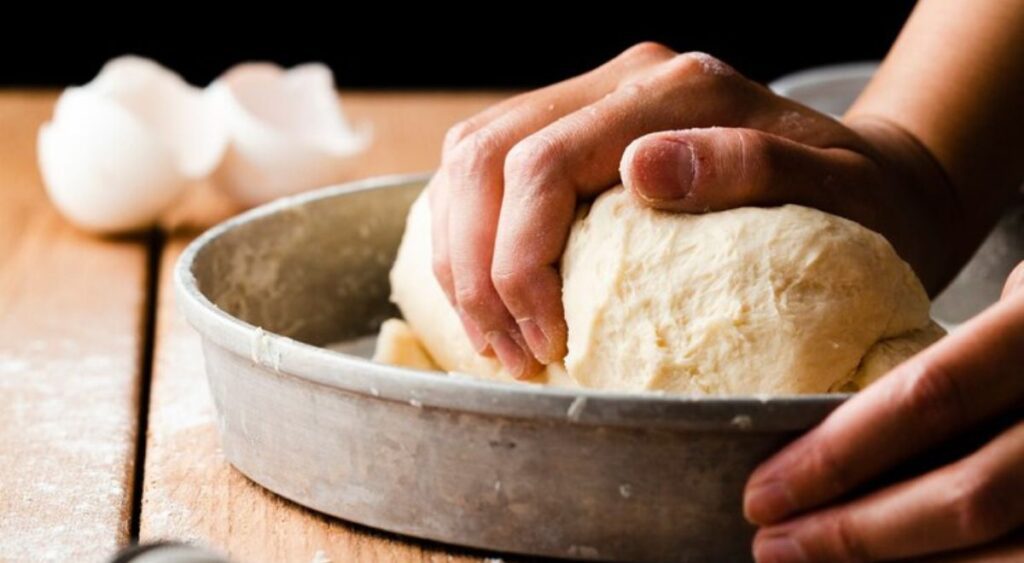
- Knead the dough for about 10 minutes until it becomes smooth and elastic. The dough should be slightly tacky but not sticky.
First Rise:
- Place the kneaded dough in a greased bowl, turning it to coat all sides with oil.
- Cover the bowl with a clean cloth or plastic wrap and let it rise in a warm, draft-free place for about 1 to 1 ½ hours, or until doubled in size.
Shape the Dough:
- Once the dough has risen, punch it down to release the trapped air.
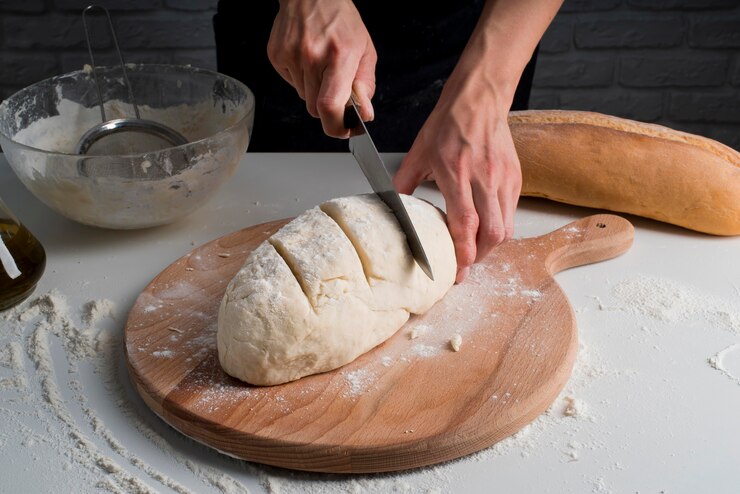
- Turn it out onto a lightly floured surface and divide it into two equal portions.
- Shape each portion into a loaf or your desired shape.
Second Rise:
- Place the shaped dough into greased loaf pans or onto a baking sheet.
- Cover them with a cloth and let them rise again for about 30-45 minutes, or until doubled in size.
Bake the Bread:
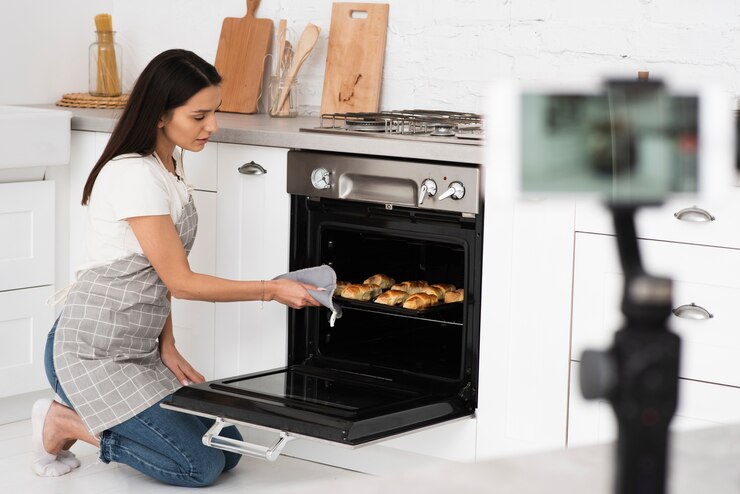
- Preheat your oven to 375°F (190°C).
- Once the dough has risen, place the pans in the preheated oven.
- Bake for 30-35 minutes, or until the loaves are golden brown and sound hollow when tapped on the bottom.
Cool and Enjoy:
- Remove the bread from the oven and let it cool in the pans for about 10 minutes.
- Transfer the loaves to a wire rack to cool completely before slicing.
This basic dough recipe serves as the foundation for countless variations. Whether you’re a seasoned baker or a beginner, mastering this recipe will open the door to endless bread-making possibilities.
3. 100% Whole Wheat Bread from Freshly Milled Flour
Detailed Recipe for 100% Whole Wheat Bread
Making 100% whole wheat bread with freshly milled flour ensures you retain all the nutrients and flavors found in the wheat kernel. Here’s a step-by-step guide to creating this wholesome bread.
Ingredients
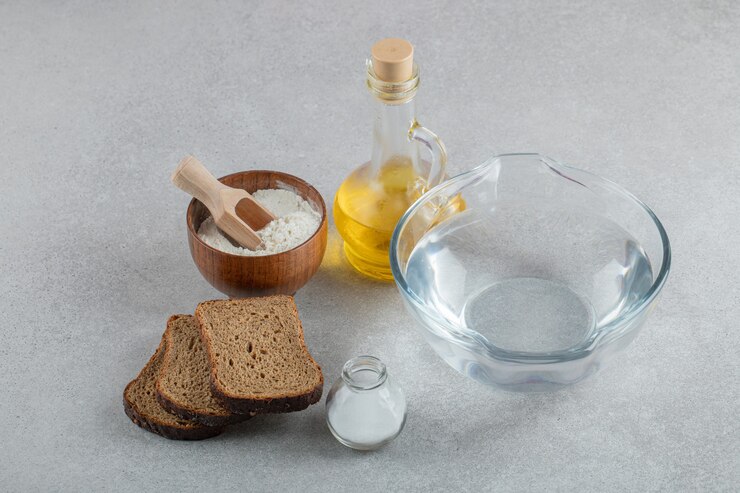
- 6 cups freshly milled whole wheat flour
- 2 ½ cups warm water (105-115°F)
- 1 ½ tablespoons active dry yeast
- ¼ cup honey or maple syrup
- ¼ cup olive oil or melted butter
- 1 tablespoon salt
- Optional: 1 tablespoon vital wheat gluten (to enhance dough elasticity)
Instructions
- Activate the Yeast:
- In a large bowl, mix the warm water and honey or maple syrup.
- Sprinkle the yeast over the water mixture and stir gently.
- Let it sit for 5-10 minutes until it becomes frothy, indicating the yeast is active.
- Mix the Dough:
- Add the olive oil or melted butter to the yeast mixture.
- Gradually mix in 3 cups of freshly milled flour to form a smooth batter.
- Add the salt and optional vital wheat gluten to the batter and stir well.
- Form the Dough:
- Add the remaining 3 cups of flour, one cup at a time, mixing thoroughly after each addition.
- The dough should begin to pull away from the sides of the bowl and form a ball.
- Knead the Dough:
- Transfer the dough to a lightly floured surface.
- Knead for about 10-15 minutes until the dough is smooth and elastic. Freshly milled flour can absorb more water, so adjust with small amounts of flour or water as needed to achieve the right consistency.
- First Rise:
- Place the dough in a greased bowl, turning it to coat all sides with oil.
- Cover the bowl with a damp cloth or plastic wrap.
- Allow the dough to rise in a warm, draft-free area for about 1 to 1 ½ hours, or until doubled in size.
- Shape the Loaves:
- Punch down the risen dough to release the air.
- Divide the dough into two equal parts.
- Shape each part into a loaf and place them in greased loaf pans.
- Second Rise:
- Cover the loaf pans with a damp cloth.
- Let the dough rise again for 30-45 minutes, or until the loaves have doubled in size.
- Bake the Bread:
- Preheat your oven to 375°F (190°C).
- Bake the loaves for 30-35 minutes.
- The bread is done when it sounds hollow when tapped on the bottom or when the internal temperature reaches 190-200°F (88-93°C).
- Cool and Store:
- Remove the bread from the oven and let it cool in the pans for 10 minutes.
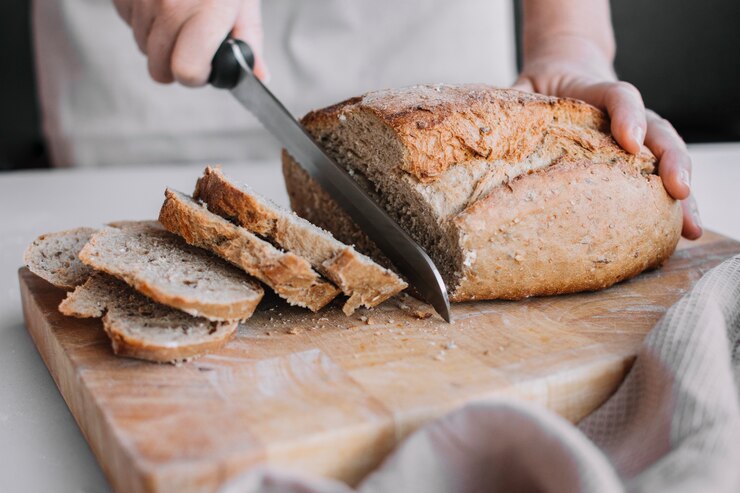
- Transfer the loaves to a wire rack to cool completely before slicing.
- Store in an airtight container to keep it fresh.
Benefits of Using Freshly Milled Flour
- Nutrient-Rich:
- Freshly milled flour contains all parts of the wheat kernel, including the bran, germ, and endosperm, providing more fiber, vitamins, and minerals.
- Enhanced Flavor:
- The natural oils in the wheat germ contribute to a richer, nuttier flavor, enhancing the taste of your bread.
- Better Texture:
- Bread made with freshly milled flour often has a superior texture, with a moist crumb and a satisfying crust.
- Healthier Ingredients:
- Fresh flour avoids the additives and preservatives found in store-bought flour, making your bread healthier.
- Baking Versatility:
- Freshly milled flour can be used in a variety of recipes, offering flexibility in your baking endeavors.
By following this detailed recipe and understanding the benefits of freshly milled flour, you’ll be able to bake 100% whole wheat bread that is not only nutritious but also delicious. Enjoy the process and the wonderful aroma of homemade bread filling your kitchen.
4. Tips and Techniques
Mastering the art of bread-making involves more than just following a recipe. Here are some valuable tips and techniques, including expert insights from Sarah Owens on sourdough, to help you achieve the best results.

Sourdough Techniques with Sarah Owens
Sarah Owens, a renowned baker and sourdough expert, offers invaluable advice for creating the perfect sourdough bread. Here are some of her key techniques:
Starter Maintenance:
- Feeding Schedule: Maintain a consistent feeding schedule for your starter, ideally twice daily if kept at room temperature. Use equal parts flour and water by weight.
- Hydration Levels: Adjust the hydration level of your starter to suit your recipe. A 100% hydration starter (equal parts water and flour) is common, but lower hydration can yield a more robust dough.
Autolyse Method:
- Mix the flour and water (excluding salt and starter) and let it rest for 30 minutes to an hour. This process, known as autolyse, helps to hydrate the flour and develop gluten.
Stretch and Fold:
- Instead of traditional kneading, use the stretch and fold method. Every 30 minutes during the first 2-3 hours of bulk fermentation, gently stretch the dough and fold it over itself. This technique builds strength and structure in the dough.
Bulk Fermentation:
- Allow the dough to ferment at a moderate room temperature (70-75°F) for 4-6 hours, depending on the activity of your starter and ambient conditions. Look for a dough that has risen noticeably and has a slightly domed surface.
Shaping:
- Carefully shape your dough into a loaf or boule, being mindful not to deflate it. Use a gentle hand and avoid over-handling to maintain the dough’s structure.
Cold Retardation:
- For better flavor and texture, refrigerate the shaped dough overnight (8-12 hours). This process, called cold retardation, slows fermentation and allows the dough to develop a complex flavor profile.
Scoring:
- Use a sharp blade to score the top of the dough before baking. This allows the bread to expand properly in the oven, creating beautiful patterns and preventing uncontrolled tearing.
Baking:
- Preheat your oven to 475°F with a Dutch oven or baking stone inside. Bake the dough covered for the first 20 minutes to create steam, then uncover and bake for an additional 20-25 minutes until the crust is deeply golden and the internal temperature reaches 210°F.
Bread-Making Tips for Beginners
Measure Accurately:
- Use a kitchen scale to measure ingredients by weight. This ensures precision and consistency, leading to better results.
Temperature Control:
- Maintain optimal dough temperature (75-80°F) for proper fermentation. Use warm water in cooler environments and cool water in warmer settings to regulate the dough temperature.
Hydration Balance:
- Adjust the water content based on the flour type and humidity. Whole wheat flour absorbs more water, while white flour may need less.
Kneading Technique:
- Knead the dough until it’s smooth and elastic. Windowpane test: Stretch a small piece of dough between your fingers. If it forms a thin, translucent membrane without tearing, the gluten is well-developed.
First Rise (Bulk Fermentation):
- Let the dough rise until it doubles in size. This can take 1-2 hours, depending on the temperature and yeast activity. Use the “finger poke test” to check readiness: If the dough slowly springs back when poked, it’s ready for the next step.
Punching Down:
- Gently deflate the dough after the first rise to redistribute the yeast and even out the temperature. This step also helps to strengthen the gluten network.
Shaping and Second Rise:
- Shape the dough into loaves or rolls and let it rise again until doubled in size. This step, known as proofing, enhances the bread’s texture and flavor.
Baking Time and Temperature:
- Preheat your oven for at least 30 minutes before baking. Bake the bread until the crust is golden brown and the internal temperature reaches 190-210°F.
Cooling:
- Allow the bread to cool completely on a wire rack before slicing. Cutting too soon can result in a gummy texture.
Common Bread-Making Challenges and Solutions
Dense Bread:
- Cause: Under-kneading or insufficient rising time.
- Solution: Knead until the dough is smooth and elastic. Ensure the dough rises until doubled in size.
Flat Loaves:
- Cause: Over-proofing or weak gluten structure.
- Solution: Monitor the proofing time closely. Handle the dough gently to preserve its structure.
Crust Too Hard:
- Cause: Over-baking or insufficient steam.
- Solution: Bake at the recommended temperature and create steam in the oven by using a water pan or baking in a covered Dutch oven.
By incorporating these tips and techniques into your bread-making routine, you’ll be well on your way to baking delicious, homemade bread with confidence and skill. Happy baking!
5. Nutrient Table for Basic Whole Wheat Bread (per slice, assuming 24 slices per recipe)
| Nutrient | Amount per Slice |
|---|---|
| Calories | 98 |
| Total Fat | 2.3g |
| Saturated Fat | 0.3g |
| Trans Fat | 0g |
| Cholesterol | 0mg |
| Sodium | 146mg |
| Total Carbohydrate | 17.5g |
| Dietary Fiber | 2.5g |
| Sugars | 2g |
| Protein | 3g |
| Vitamin D | 0% |
| Calcium | 1% |
| Iron | 6% |
| Potassium | 68mg |
Key Ingredients and Their Contributions
- Whole Wheat Flour (6 cups): Rich in fiber, protein, and essential minerals like iron and magnesium.
- Warm Water (2 ½ cups): Hydration, no direct nutrient contribution.
- Active Dry Yeast (1 ½ tablespoons): Provides a small amount of protein and B vitamins.
- Honey or Maple Syrup (¼ cup): Adds natural sugars for sweetness and yeast activation.
- Olive Oil or Melted Butter (¼ cup): Adds healthy fats (primarily unsaturated fats from olive oil).
- Salt (1 tablespoon): Essential for flavor, but contributes to sodium content.
Nutritional Highlights
- High Fiber Content: Whole wheat flour increases the fiber content, aiding in digestion and promoting a feeling of fullness.
- Low in Saturated Fat: Using olive oil instead of butter can further reduce saturated fat intake.
- Rich in Essential Nutrients: Whole wheat flour is a good source of iron, magnesium, and B vitamins.
These values are approximate and can vary based on ingredient brands and specific measurements. For more accurate nutritional information, consider using a nutritional calculator with specific product details.
6. FAQs:
Why is milk powder used in bread?
Milk powder is added to bread for several reasons. Firstly, it enriches the flavor and adds a subtle creamy taste to the bread. Secondly, it contributes to the bread’s texture, making it softer and more tender. Additionally, milk powder contains proteins and sugars that help with browning during baking, giving the bread a golden crust. Moreover, milk powder acts as a natural preservative, extending the shelf life of the bread. Overall, incorporating milk powder enhances the overall quality and appeal of the bread.
How much yeast for 1kg flour?
The ideal amount of yeast for 1kg of flour depends on the type of yeast being used and the desired rising time. For active dry yeast, a common ratio is about 1 to 2 percent of the flour weight. So for 1kg of flour, you would typically use around 10 to 20 grams of active dry yeast. However, this can vary based on factors such as temperature, humidity, and recipe specifics. It’s essential to follow the recipe instructions or adjust based on your experience and desired outcome.
How much fresh yeast for 500g flour?
When using fresh yeast, the general guideline is to use approximately double the amount compared to active dry yeast. So for 500g of flour, you would typically use around 20 to 40 grams of fresh yeast. Again, this can vary depending on factors like rising time, dough temperature, and recipe requirements. It’s recommended to follow the recipe instructions or adjust based on personal experience and desired results.
How much bread does 1 kg of flour make?
The amount of bread produced from 1kg of flour varies depending on the recipe, hydration level, rising time, and shaping techniques. As a general estimate, 1kg of flour can yield approximately two to four standard-sized loaves of bread, each weighing around 400 to 500 grams. However, this can vary significantly based on factors such as the type of bread being made (e.g., sandwich bread, artisan bread), the addition of other ingredients (e.g., seeds, nuts), and personal preferences for loaf size and shape. It’s essential to consider these factors and adjust the recipe accordingly to achieve the desired outcome.
7. Conclusion:
In conclusion, mastering the art of bread-making is a fulfilling journey that encompasses both science and creativity. By understanding the fundamentals of ingredients and techniques, such as incorporating milk powder for flavor and texture enhancement, determining the appropriate yeast quantities for different flour amounts, and estimating bread yield from flour quantities, you can elevate your bread-making skills to new heights. Whether you’re a novice baker or an experienced enthusiast, the tips and insights provided in this article offer valuable guidance to help you craft delicious homemade bread with confidence and expertise. So roll up your sleeves, preheat your oven, and embark on a flavorful adventure in the world of bread-making. With each loaf, you’ll not only nourish your body but also feed your soul with the joy of creating something truly special from scratch. Happy baking!
Pingback: Rock Bun Jamaican Recipe In 2024 - Top 10 secrets
Pingback: How to Make Egg Sandwich Spread Pinoy Recipe - To 10 Secrets